An R reproducibility toolkit for the practical researcher > Day 3 > 02: Sharing data
02: Sharing data
By Paola Corrales and Elio Campitelli
The two ingredients for a reproducible project are code and data. We talked a lot about how to organise and share code, but what about data? Sharing data is far from trivial and there are a lot of things to consider.
Permissions
Before the technical issues of sharing data there are the bureaucratic issues. Depending on your context, you might not be allowed to share your data. Data can be expensive to create so your company or institution might want to keep it private so they can squeeze all the profit it can from it. Or it might contain industry secrets or proprietary information.
Privacy concerns might preclude sharing data including sensitive and/or potentially identifiable information, such as it’s common in the medical setting. Baring licencing barriers, you might be able to share aggregated data, or anonymised data. If your data comes from human subjects such as medical trials, psychological or social experiments, even surveys, you need to ask for consent before you publish the data.
If you can share your data, it’s also important to think about which licence to use. Again, you might need to check with your institution which licence to use. If you’re sharing data derived from another source, your licence will probably need to be compatible with the original licence. For example, if the original source has a “share-alike” licence, you need to share your own data using the same licence. The Open Data Commons website lists a few open licenses that you can use.
The bottom line is that you need to check carefully if you actually can distribute raw or derived data before doing so. Even if you created the data yourself, check with your institution.
How to share
The technical aspects of data sharing can be much more complicated than code sharing for the simple reason that data are, most of the time, much bigger than a couple of text files with a few hundred lines each. Hosting and transferring several gigabytes worth of data can be a challenge, as well as ensuring long-term stability.
That is to say that there is no one solution to sharing data.
Data inside the repository
If your project relies on not a lot of data, then you are in luck. You can simply add the relevant files to your GitHub repository (or any other repository-hosting service) and you’re done. Anyone will be able to download the entire repository and run the code without worrying about accessing data because it is already there.
What counts as “tiny data” in this context depends on the repository service you use. GitHub allows individual files of up to 100 MB, so for any file below that limit can be safely included in your repository. If you have many moderately big files, you might be reaching GitHub’s soft limit of around 5Gb per repository.
Other services impose other limits but whatever the limit, bear in mind that large repositories can perform poorly.
Repository size and version control
When using version control, remember that the repository stores the information of every past commit. This means that the size of the complete repository can be much larger than the size of the project at a particular point in time. Since code is stored in plain text files, this overhead is not big, but if you have data in your repository every change to the data files will be remembered and can severely increase your repository size.
Data outside the repository
If your data is not so tiny and exceeds the limits of your particular repository provider, you will need to look for an external service to host it and how to provide access to it.
Public data
Sometimes a research project might use publicly-accessible data, perhaps provided by a public API, or a public repository. In that case, you might not need to host the data yourself and instead rely on that service. While this has the advantage that other people can handle all the complexities of data storage and delivery, the disadvantage is that you don’t control it. The service might decide to update the data (perhaps they found an error) and you might then lose access to the version of the data that produced a certain result.
You can host big files in your GitHub account by using the releases feature, which lets you upload files of up to 2Gb each. These files are not version-controlled and are not hosted inside your repository, so they are not available automatically when forking or cloning it. The piggyback R package provides a set of functions that can upload and download files using this feature.
However, GitHub releases don’t provide a lot of the useful features of data repositories, like versioning and Digital Object Identifier (DOI) and rich metadata. Some popular and reputable data repositories are figshare, the Open Science Framework and Mendeley Data. Each has its own pros and cons, but in this workshop we will use Zenodo because it’s free, offers a generous 50GB limit per dataset, assigns Digital Object Identifier (DOI), supports versioning, and it integrates well with GitHub. Also because we’ve used it, so we are more familiar with it.
Using Zenodo for data hosting
The basis of Zenodo to store data are not that much different from using any garden-variety file hosting service. You just go to the site, upload the file and get a link. The main difference is that you also need to specify the metadata and you get an unique DOI that represents your data. This allows you or anyone else to cite these data and also allows you to upload multiple versions of the same dataset and refer to the proper one.
Zenodo Sandbox
Data uploaded to Zenodo cannot be deleted. Since we are going to upload test data, we are going to use Zenodo Sandbox.
Upload
Go do sandbox.zenodo.org and log in (create an account or use your GitHub account if necessary). To upload a dataset you need to click on Upload.
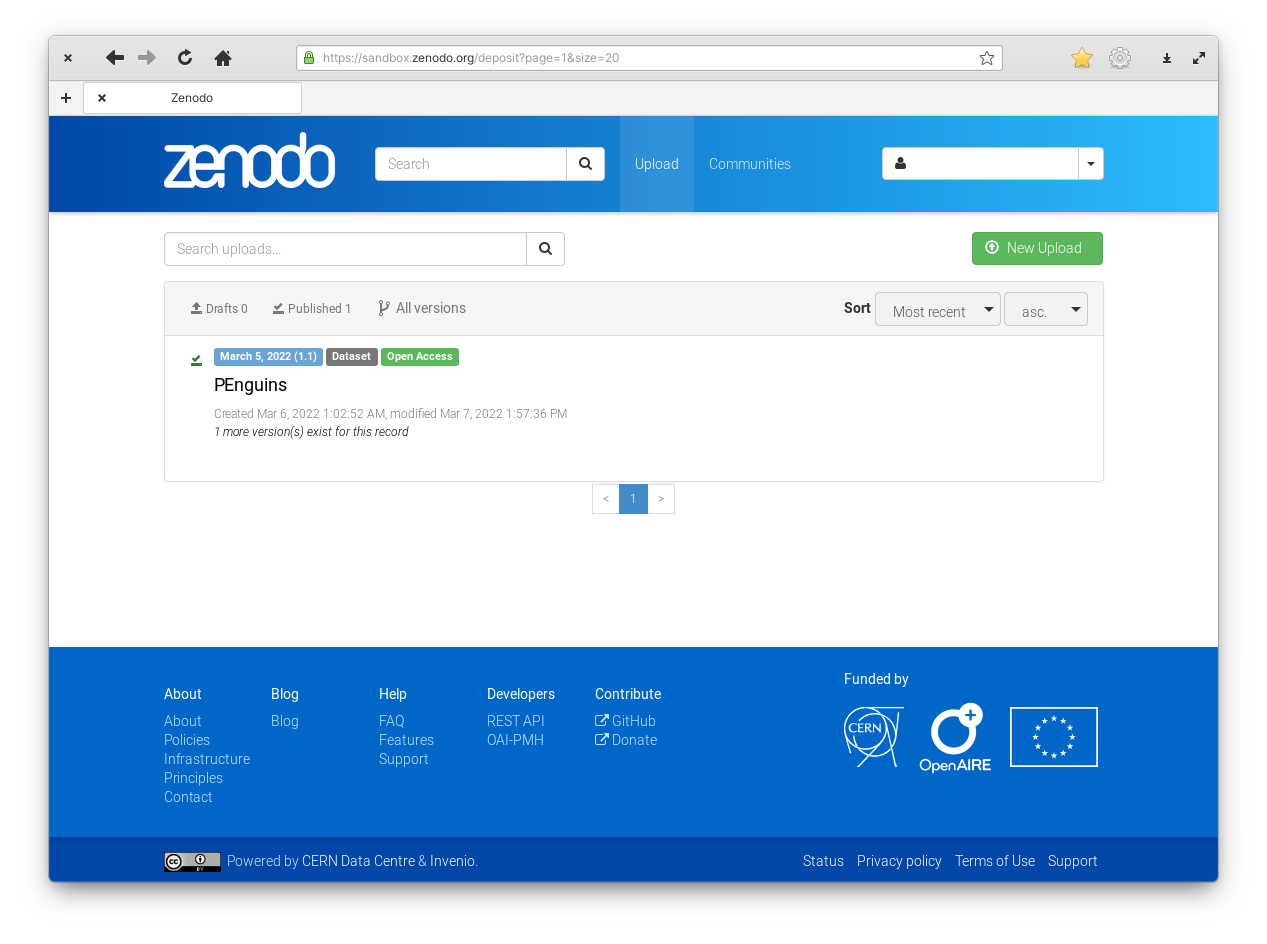
Figure 1: Zenodo upload. As you can see, datasets are permanent and this user had already uploaded one test dataset in preparation for writing this.
You will see a list of your previously-uploaded datasets which in your case might be empty. Now you need to click on “New Upload”.
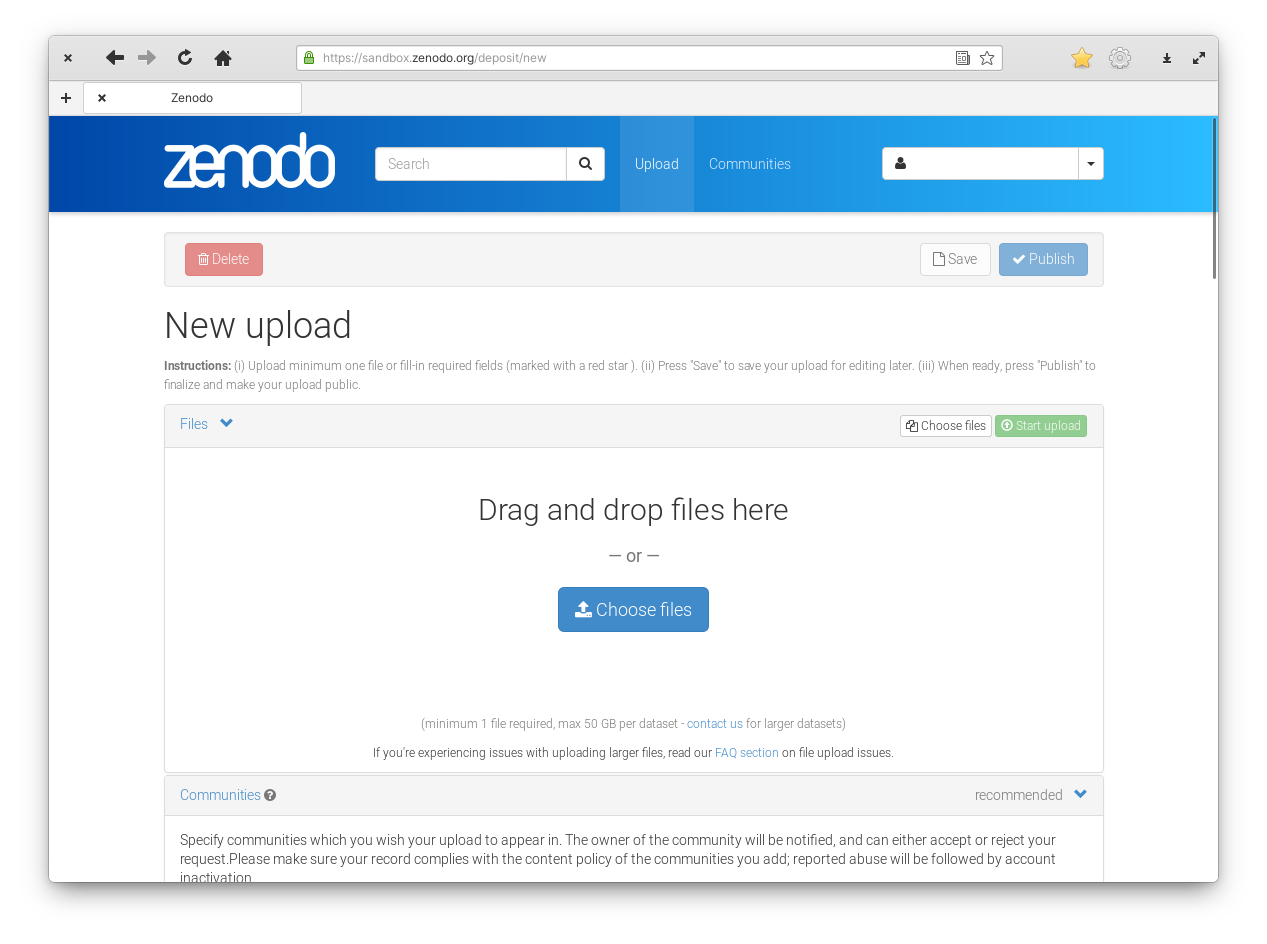
Figure 2: Zenodo upload section.
In this new section you can drag and drop your files on the big area or click on “Choose files” to open a file chooser. A single dataset can have multiple files.
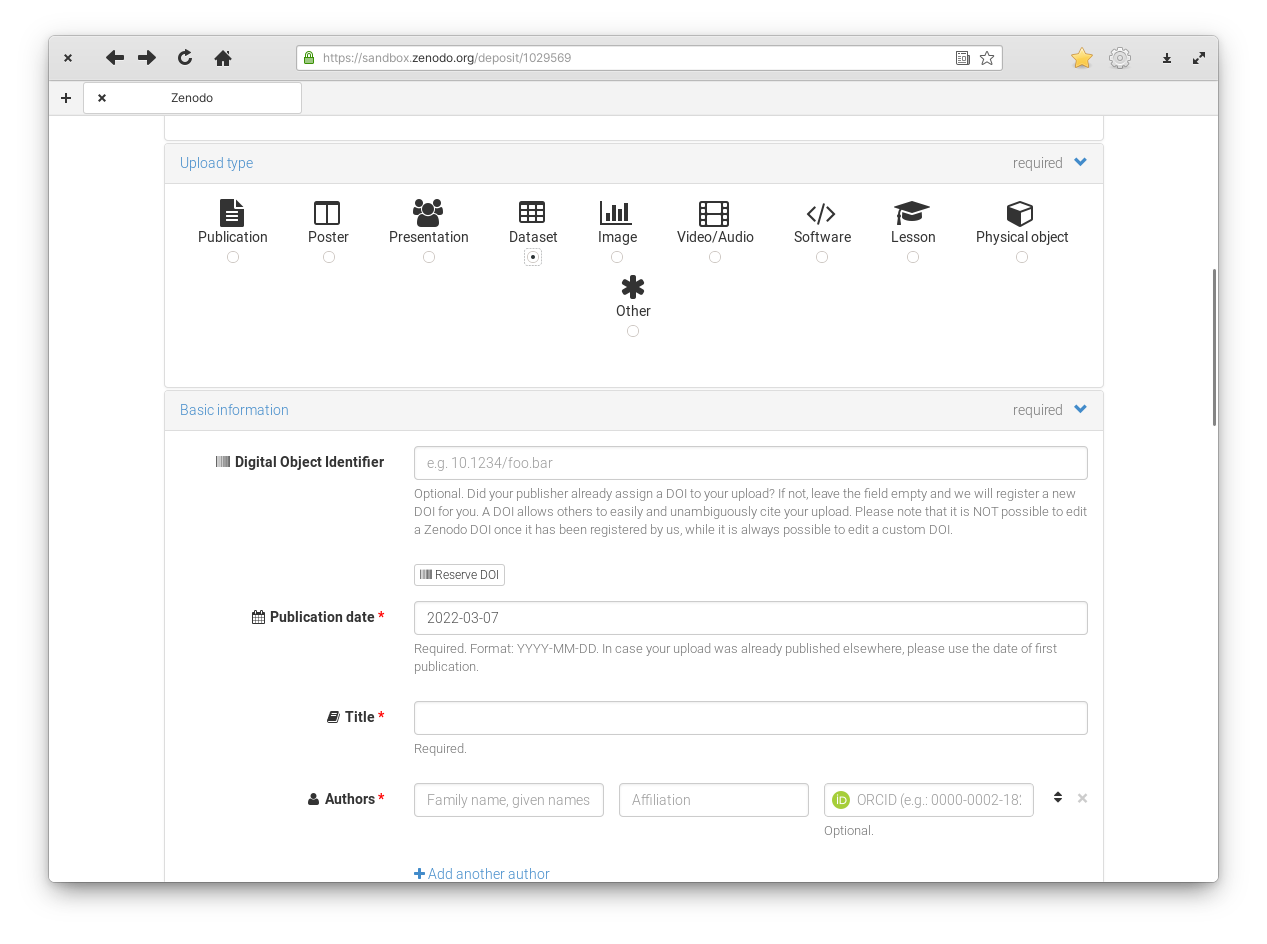
Figure 3: Zenodo upload section.
Zenodo supports multiple types of records. Beside datasets, you could create a DOI for your entire publication, or for individual images. This is the lesson about datasets, so you need to select “Dataset” as the upload type.
You can create your upload as an unpublished draft and only publish it once you are ready. In this case, it is a good idea to reserve the DOI before publishing. That way you can cite this future upload safely in your publication.
Finally, it is important to fill in the metadata. Title, keywords, description will document what this data is, how it was collected and what it was used for. Don’t stress yourself too much about the correctness of each field, you can always edit this information in the future.
The last step is to click the “Publish” button at the bottom of the page and your dataset will be published.
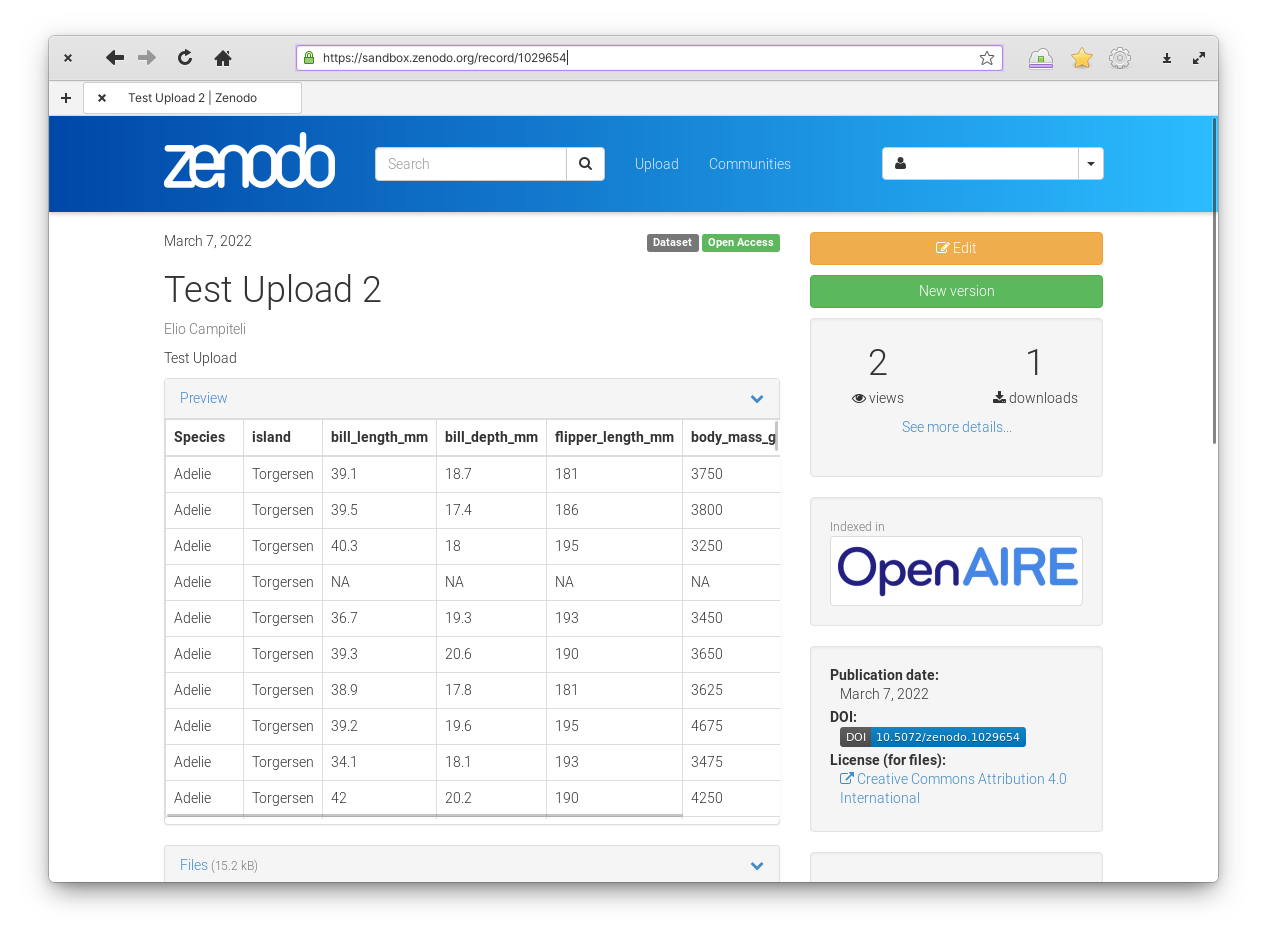
Figure 4: Zenodo upload section.
Once the dataset is uploaded you will be able to see the result. You can see this example.
If you are logged in you will see two big buttons labelled “Edit” and “New Version”. The Edit button allows you to edit the metadata associated with this record. So you don’t need to worry about typos and other errors. The New Version button allows you to upload a whole new version of the dataset in case you find an error in your dataset and want to correct it. Each version will have its own DOI and stable URL so you can cite and download the specific version used in each project.
Upload your data
Follow all the steps detailed previously to upload penguins.csv to a Zenodo record. (We are testing stuff, so remember to use sandbox.zenodo.org).
Download
Once the dataset is hosted somewhere you need to decide how do you want people to get it. You could simply put a link to the data in the README and indicate where to download it manually. This involves minimal effort but it introduces error-prone manual steps and thus make the project harder to reproduce.
If you go to a Zenodo record, below the file preview you will see a box with the list of files in it.
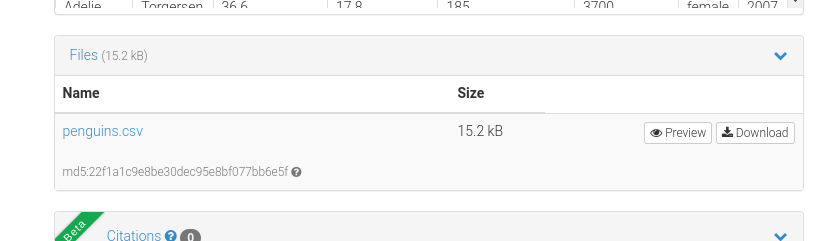
Figure 5: List of files in the example database.
The nice bit here is the “Download” button. This is the button you should point people to.
To make reproducibility much easier, you could write code that programmatically download the datasets where it should be.
For example, you could create a download_penguins() function
download_penguins <- function() {
  file <- here::here("data/penguins.csv")
  url <- "https://zenodo.org/records/12772944/files/pinguinos.csv?download=1"
  download.file(url, file)
  return(invisible(file))
}
To get the URL of each file, you can right-click on the Download button and select Copy link to clipboard.
Now anyone wanting to reproduce the project can call download_penguins() from the project and the dataset will be downloaded where it needs to be.
An even seamless approach could be create a function that returns the dataset, downloading the relevant files if needed. A minimal example would be something like this
dataset_penguins <- function() {
  file <- here::here("data/penguins.csv")
  if (!file.exists(file)) {
    url <- "https://zenodo.org/records/12772944/files/pinguinos.csv?download=1"
    download.file(url, file)
  }
  return(read.csv(file))
}
Now you can forget everything about downloading datasets and just use this function inside your R Markdown file like this
penguins <- dataset_penguins()
With this system, the R Markdown file will be self-sufficient and download the data if needed. Neither future you nor any future reproducibility enthusiast will need to worry about downloading data before running the code.
Improve report.Rmd
- Modify report.Rmd in the demo project to download the data automatically.
Dataset functions
This approach to managing data can be greatly extended to add all sorts of “smarts” to download_penguins().
For example, it could ensure data integrity by matching that the data matches a known md5 hash or create a citation for the data.
Manage Zenodo programmatically
You can use the zen4R package to automate all these steps. This will allow you to create, update and download datasets using Zenodo’s API.